Thursday, October 19, 2023

More Artzy Backgrounds

Hi Artzy friends -

In my last post I showed you 3 sets of backgrounds I created using the Botanical Background die as a stencil. I shared the cards that I made with the blue and the green pairs of backgrounds.


Today I am sharing the cards that I created with the pink backgrounds.

First, I made a birthday card using the Holiday Birds stamps and dies. This set has some sweet bird images, along with sentiments that can be used for the holidays and all year round.


For my second card I used the Poinsettia Basket stamps and dies to create a holiday card in non-traditional colors (although pink is a common color of poinsettias!) I mounted the poinsettia image on a die cut circle using the Double Dot Circle framelits. The green striped paper is from the Merry & Bright collection.


I love that both of these sets have dies that cut out the sentiments! 

Thanks for visiting and have a great day!


Thursday, October 5, 2023

Two for One Backgrounds

 Hi Artzy friends -

Today I have some festive cards created with a two for one stenciled background technique, and hot foiling.


I created my backgrounds by die cutting  white cardstock with the Botanical Background die. I then used the die cut as a stencil by ink blending over another piece of white cardstock with 3 shades of Distress inks, creating an ombre look. This resulted in the die cut (or "stencil") being ink blended, as well as the solid white cardstock panel.  I did this 3 times, in shades of blue, green, and pink.
Picket Fence Paper Pouncers are perfect for this technique, as it's very easy to bend or tear the die cut if you aren't very gentle while inking over it. 


For today's cards I decided to used the green and blue backgrounds. (I used the pink backgrounds for two other cards which I will share soon.)

The other star of these cards is the Dare 2B Artzy Joy Christmas Tree Hot Foil Plate. I hot foiled several of the trees using my Spellbinders Glimmer Machine and different colors of hot foils (Here I used gold, silver, and rainbow foils). I also used the Dare 2B Artzy Solid Hot Foil Plate  to use the negative foil pieces to get a more solid look for the silver and gold trees. I cut my trees out using the die from the Joy Christmas Tree die set. This die set also cuts out the stamps in the Joy Christmas Tree stamp set. 

The cards were then simple to assemble. I adhered my die cut backgrounds to my white card bases. I cut green and blue mats for my stenciled panels to set them off from my card bases. 

These were fun and fairly easy to create! They pack a lot of shine, (so much shine that they're difficult to photograph!) and the sentiment is already included in the image! 


Thanks for visiting and have a great day!

Avra


Sunday, September 24, 2023

D2BA STAMPtember Collaboration

Hi Artzy friends -

Today I am excited to share Dare 2B Artzy's first ever STAMPtember collaboration! This exclusive set, called Slice of Cake, is only available at Simon Says Stamp, and only while supplies last! It is available with or without dies.


Simon Says Stamp released lots of fun new birthday themed products this year and this set coordinates perfectly with them! I love all of the fun sentiments included in this set!


I hope you'll check it out, as well as all of the other Dare 2B Artzy products available at Simon Says Stamp!

Thanks for visiting and have a great day!

Avra


Thursday, September 21, 2023

Fall Gift Box

 Hi Artzy friends -

Have you seen the Dare 2B Artzy Gift Bag & Box dies? This die set is going to get a lot of use around here through the fall and winter, and all year long!

I made this little fall themed gift box using papers from the Everything is Blooming collection.


Even the tag and the "for you" is included in the Gift Bag & Box die set, and there are several styles of bags and boxes you can make, along with lots of different options for embellishments! All of the assembly instructions are on the package and you can find videos of easy to follow directions as well.

I added the floral image from the Breezy Blossoms stamps and dies. This whimsical blossom was colored with the coordinating stencil. 


I plan to fill this little box with fun treats for an upcoming birthday for someone special!


Thanks for visiting and have a great day!

Avra


Thursday, September 7, 2023

Cozy Christmas

 Hi Artzy friends -

Have you started on your holiday cards yet? It's still early, and I plan to get back to making some fall cards, but I couldn't resist using some of the new holiday Dare 2B Artzy products to make a fun Christmas scene card.


The Santa and the tree are from the Season to be Jolly stamps and dies, and the fireplace and decor are from the Cozy Fireplace stamps and dies. The background paper is from the Merry and Bright collection, as is the sentiment strip along the bottom of my card. 

There are so many mix and match possibilities using Dare 2B Artzy's newest holiday products, as well as products from previous years!


Thanks for visiting, and have a great day!

Avra


Thursday, August 17, 2023

Classic Christmas

 Hi Artzy friends -

Today I have a Christmas card to share using some new Dare 2B Artzy products. And I have some tips on how stamp and die cut intricate sentiments perfectly. 

My card is fairly simple but packs a punch with a background die cut out of gold foil cardstock, a pretty basket of poinsettias, and a gold heat embossed sentiment.


I just love the new Botanical Background die, especially cut out of shiny mirror cardstock! I also love that it can be cut out of any color cardstock for a less formal look and can be used any time of year!

I stamped and colored the basket of poinsettias with the Poinsettia Basket stamp set, and cut it out using a circle die from the Double Dot Circle Framelits set. 

My sentiment is also from the Poinsettia Basket set, and there is even a coordinating die in the die set!

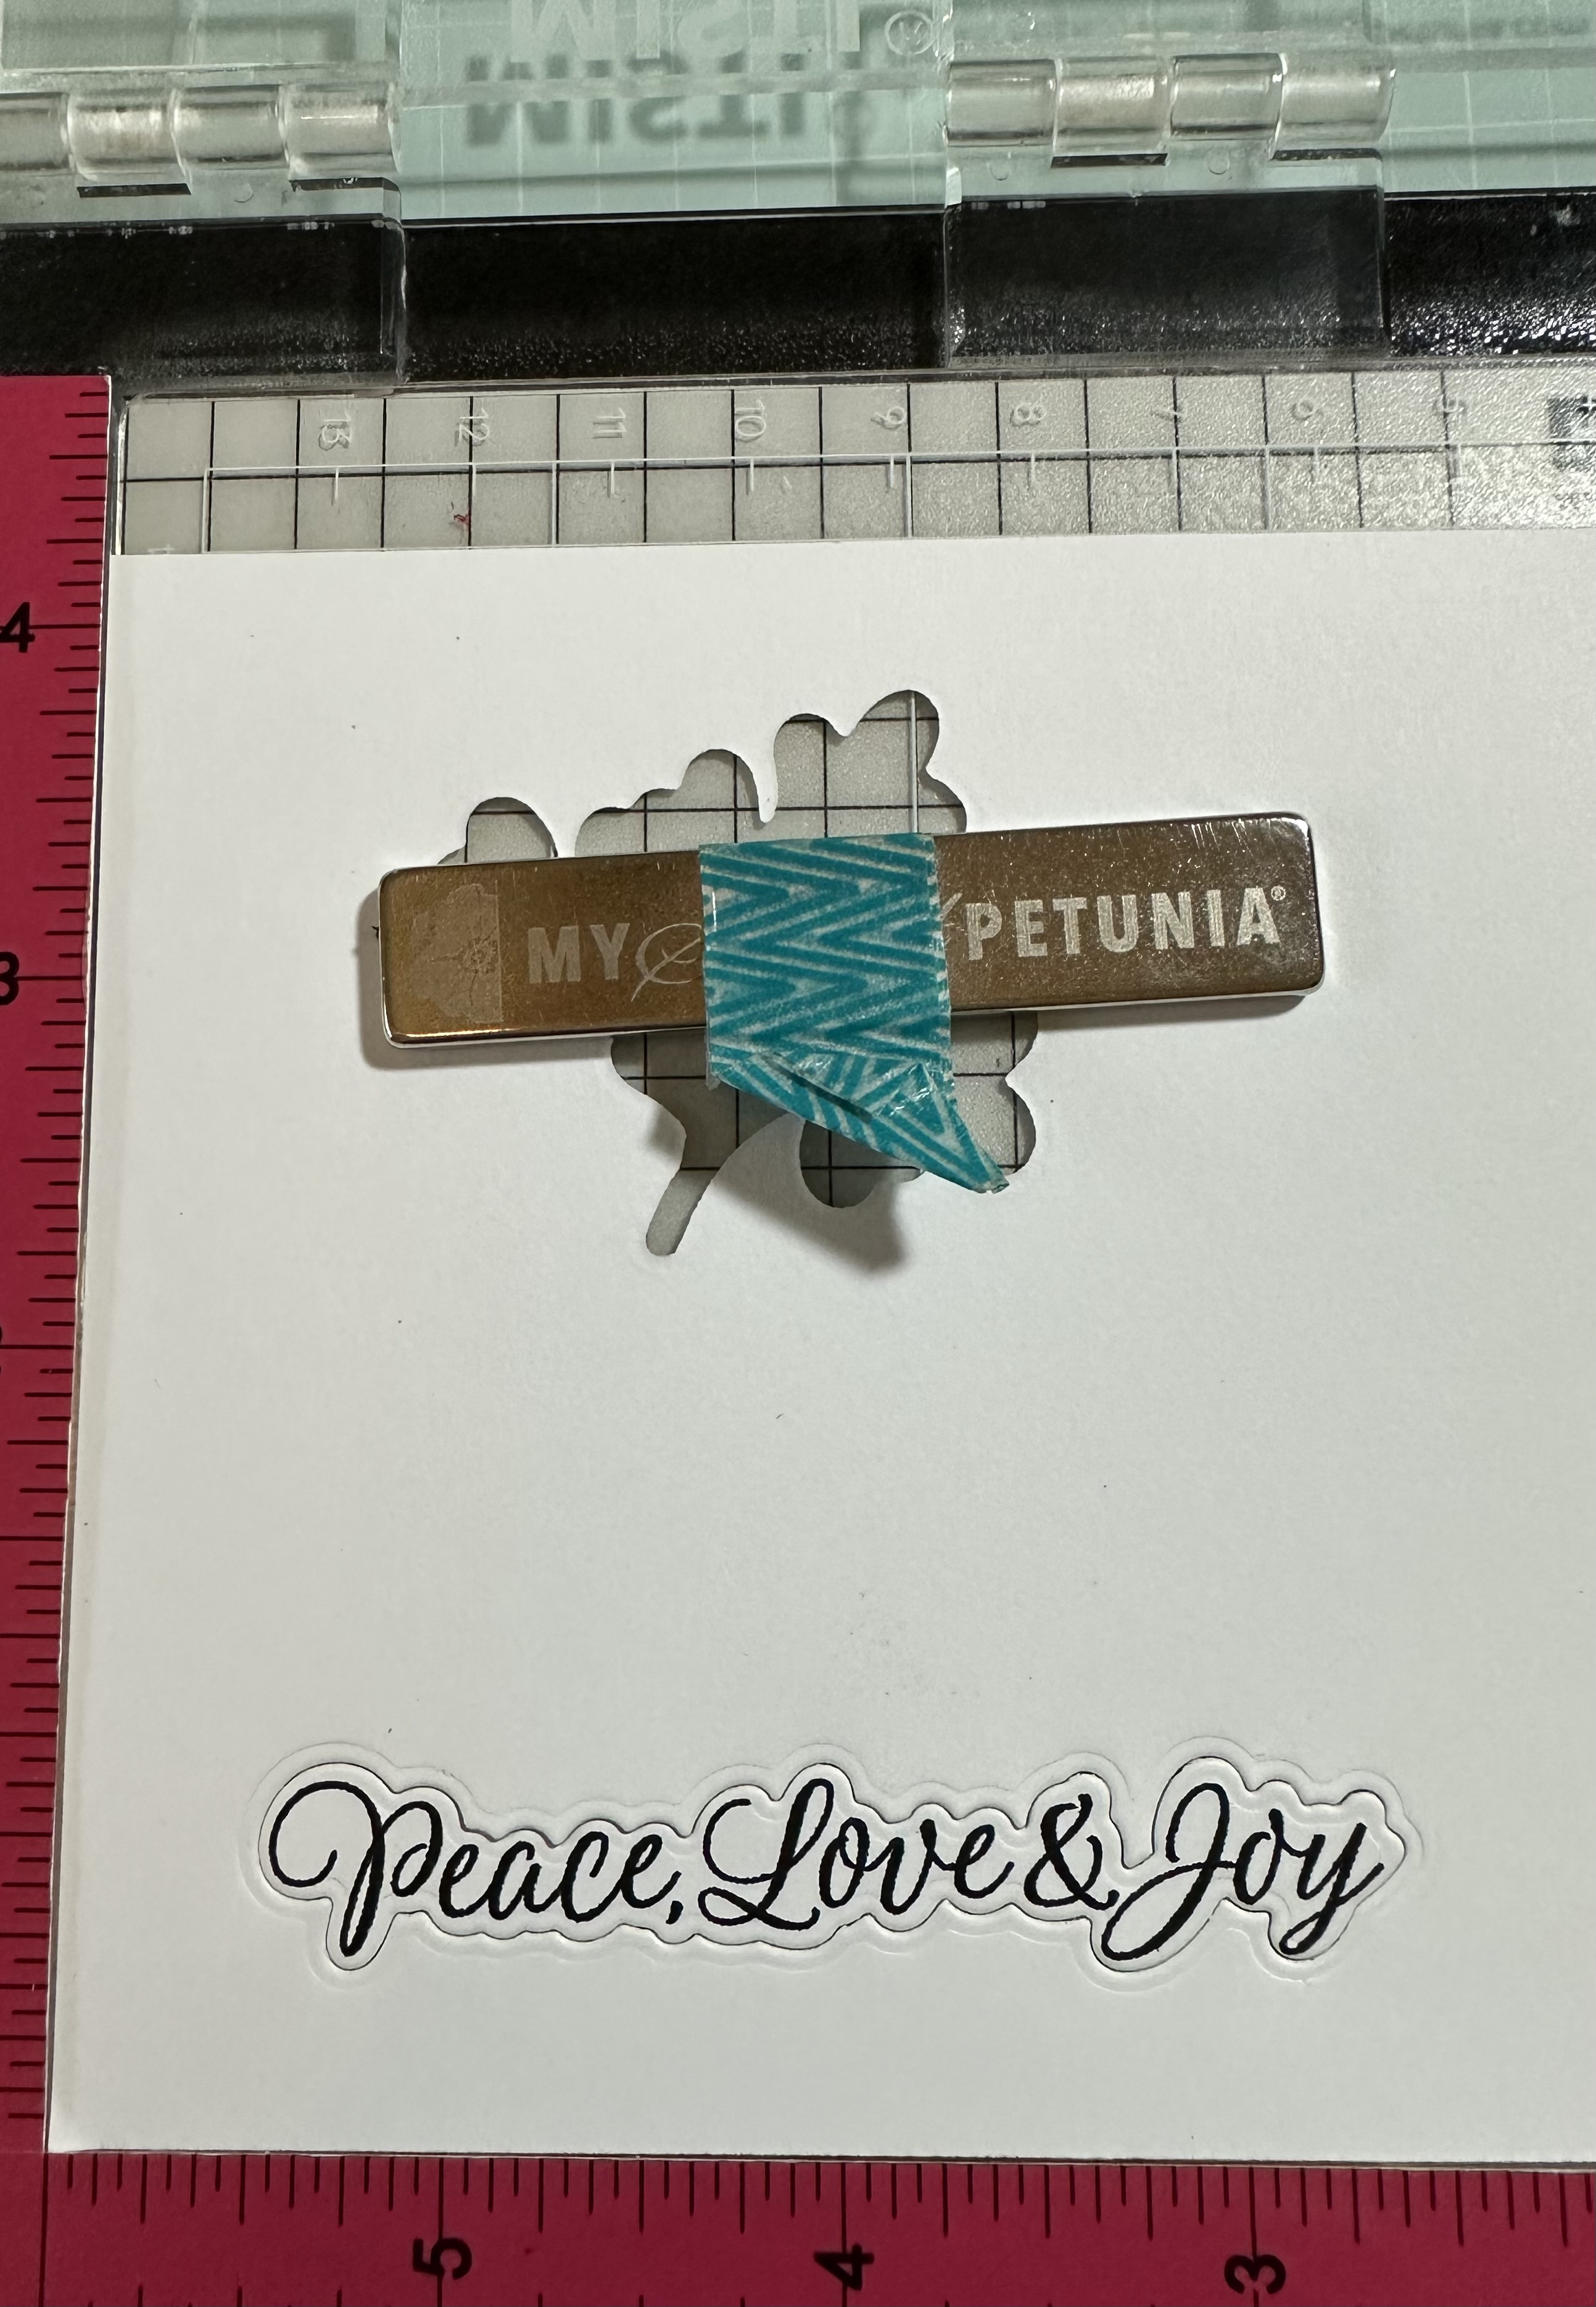
Lining up an intricate sentiment stamp with its coordinating die can be tricky but is easy to do with a Misti (or other stamp positioning tool.) I created several stamped and heat embossed versions of this sentiment to have ready to place on my holiday cards this year. 


To create my die cut sentiments I first used the die to create a template out of white cardstock. 
I placed the template in my Misti, lined the sentiment stamp up in the negative space, and picked the stamp up with the door of my Misti. Keeping the template tucked in the corner I then replaced the blank die cut back in the negative space and stamped my sentiment. 


For this card I used a gold heat embossed sentiment and I stacked it with 2 additional die cuts to add dimension before adhering it to my card. 

I hope you'll check out all of the newest holiday products available from Dare 2B Artzy!

Thanks for visiting and have a great day!

Avra


Thursday, August 3, 2023

Hide n Seek Birthday

 Hi Artzy friends -

Today I have a birthday card created with some fun Dare 2B Artzy dies - the Hide n Seek Card die and the Candle Pocket die, along with the Happy Birthday Layered die with Balloon.

The front of my card looks like an ordinary A2 sized card. The patterned paper background is called Scoops of Thanks.


When the card is opened, up pops the greeting from behind the center panel! The Time to Celebrate stamp is from the Well Wishes stamp set, and the daisy paper is from the Home Grown collection.


I added some chunky glitter to the candle flames to really make them sparkle!


There are so many options when using these two specialty dies - I hope you'll check them out!

Thanks for visiting and have a great day!

Avra