Showing posts with label Botanical Background die. Show all posts

Thursday, December 4, 2025

 Hi Artzy friends -

I'm in full swing Christmas card mode!

I created this card with some festive Dare 2B Artzy products from this year and last.


The Botanical Background die can actually be used at any time of the year, but cutting it in gold foil  cardstock screams holidays to me! 
The tree and sentiment are from the Christmas Magic stamps and dies. 
The deep red background paper is from the Delivering Christmas collection.

I hope you're enjoying your holiday crafting time! 

Thanks for visiting and have a great day!

Avra

Thursday, July 18, 2024

Floral Birthdays

Hi Artzy friends -

I have two birthday cards to share with you today, using  florals from the Beautiful Inside stamp and die sets. While this set does contain a happy birthday sentiment, I chose to use the script one from the Beauty of Nature stamp and die sets, embossed in gold and silver.


On the first card I mounted my flower on vellum cut with an Oval Scalloped framelit die. My background is the Botanical Background die, cut from shiny gold foil cardstock.

The floral image on my 2nd card is mounted on vellum cut with a Double Dot Circle framelit. My background is the Quilted Flower background die cut from gray cardstock and backed with shiny silver foil cardstock. 

I'm always happy to be able to add to my stash of birthday cards quickly and easily, and beautifully!

Thanks for visiting and have a great day!

Avra


Thursday, March 21, 2024

Spring is in the Air!

 Hi Artzy friends - 

The calendar says it's officially spring! We can only hope that the weather follows suit!

This cute bunny, from the Honey Bunny stamp and die sets is perfect for so many spring and summer cards. I created this shaker card to wish you a happy spring!


I ink blended the Botanical Background die cut and sandwiched it between two pieces of acetate to create a shaker window. I created a frame with the Rectangle Framelits dies and added my bunny, along with my sentiment from the Singin in the Rain stamps and dies and butterfly from the Beauty of Nature stamps and dies.


Stop by the Dare 2B Artzy store to shop for brand new AND older stamps and dies this spring!

Thanks for visiting and have a great day,

Avra


Thursday, October 19, 2023

More Artzy Backgrounds

Hi Artzy friends -

In my last post I showed you 3 sets of backgrounds I created using the Botanical Background die as a stencil. I shared the cards that I made with the blue and the green pairs of backgrounds.


Today I am sharing the cards that I created with the pink backgrounds.

First, I made a birthday card using the Holiday Birds stamps and dies. This set has some sweet bird images, along with sentiments that can be used for the holidays and all year round.


For my second card I used the Poinsettia Basket stamps and dies to create a holiday card in non-traditional colors (although pink is a common color of poinsettias!) I mounted the poinsettia image on a die cut circle using the Double Dot Circle framelits. The green striped paper is from the Merry & Bright collection.


I love that both of these sets have dies that cut out the sentiments! 

Thanks for visiting and have a great day!


Thursday, October 5, 2023

Two for One Backgrounds

 Hi Artzy friends -

Today I have some festive cards created with a two for one stenciled background technique, and hot foiling.


I created my backgrounds by die cutting  white cardstock with the Botanical Background die. I then used the die cut as a stencil by ink blending over another piece of white cardstock with 3 shades of Distress inks, creating an ombre look. This resulted in the die cut (or "stencil") being ink blended, as well as the solid white cardstock panel.  I did this 3 times, in shades of blue, green, and pink.
Picket Fence Paper Pouncers are perfect for this technique, as it's very easy to bend or tear the die cut if you aren't very gentle while inking over it. 


For today's cards I decided to used the green and blue backgrounds. (I used the pink backgrounds for two other cards which I will share soon.)

The other star of these cards is the Dare 2B Artzy Joy Christmas Tree Hot Foil Plate. I hot foiled several of the trees using my Spellbinders Glimmer Machine and different colors of hot foils (Here I used gold, silver, and rainbow foils). I also used the Dare 2B Artzy Solid Hot Foil Plate  to use the negative foil pieces to get a more solid look for the silver and gold trees. I cut my trees out using the die from the Joy Christmas Tree die set. This die set also cuts out the stamps in the Joy Christmas Tree stamp set. 

The cards were then simple to assemble. I adhered my die cut backgrounds to my white card bases. I cut green and blue mats for my stenciled panels to set them off from my card bases. 

These were fun and fairly easy to create! They pack a lot of shine, (so much shine that they're difficult to photograph!) and the sentiment is already included in the image! 


Thanks for visiting and have a great day!

Avra


Thursday, August 17, 2023

Classic Christmas

 Hi Artzy friends -

Today I have a Christmas card to share using some new Dare 2B Artzy products. And I have some tips on how stamp and die cut intricate sentiments perfectly. 

My card is fairly simple but packs a punch with a background die cut out of gold foil cardstock, a pretty basket of poinsettias, and a gold heat embossed sentiment.


I just love the new Botanical Background die, especially cut out of shiny mirror cardstock! I also love that it can be cut out of any color cardstock for a less formal look and can be used any time of year!

I stamped and colored the basket of poinsettias with the Poinsettia Basket stamp set, and cut it out using a circle die from the Double Dot Circle Framelits set. 

My sentiment is also from the Poinsettia Basket set, and there is even a coordinating die in the die set!

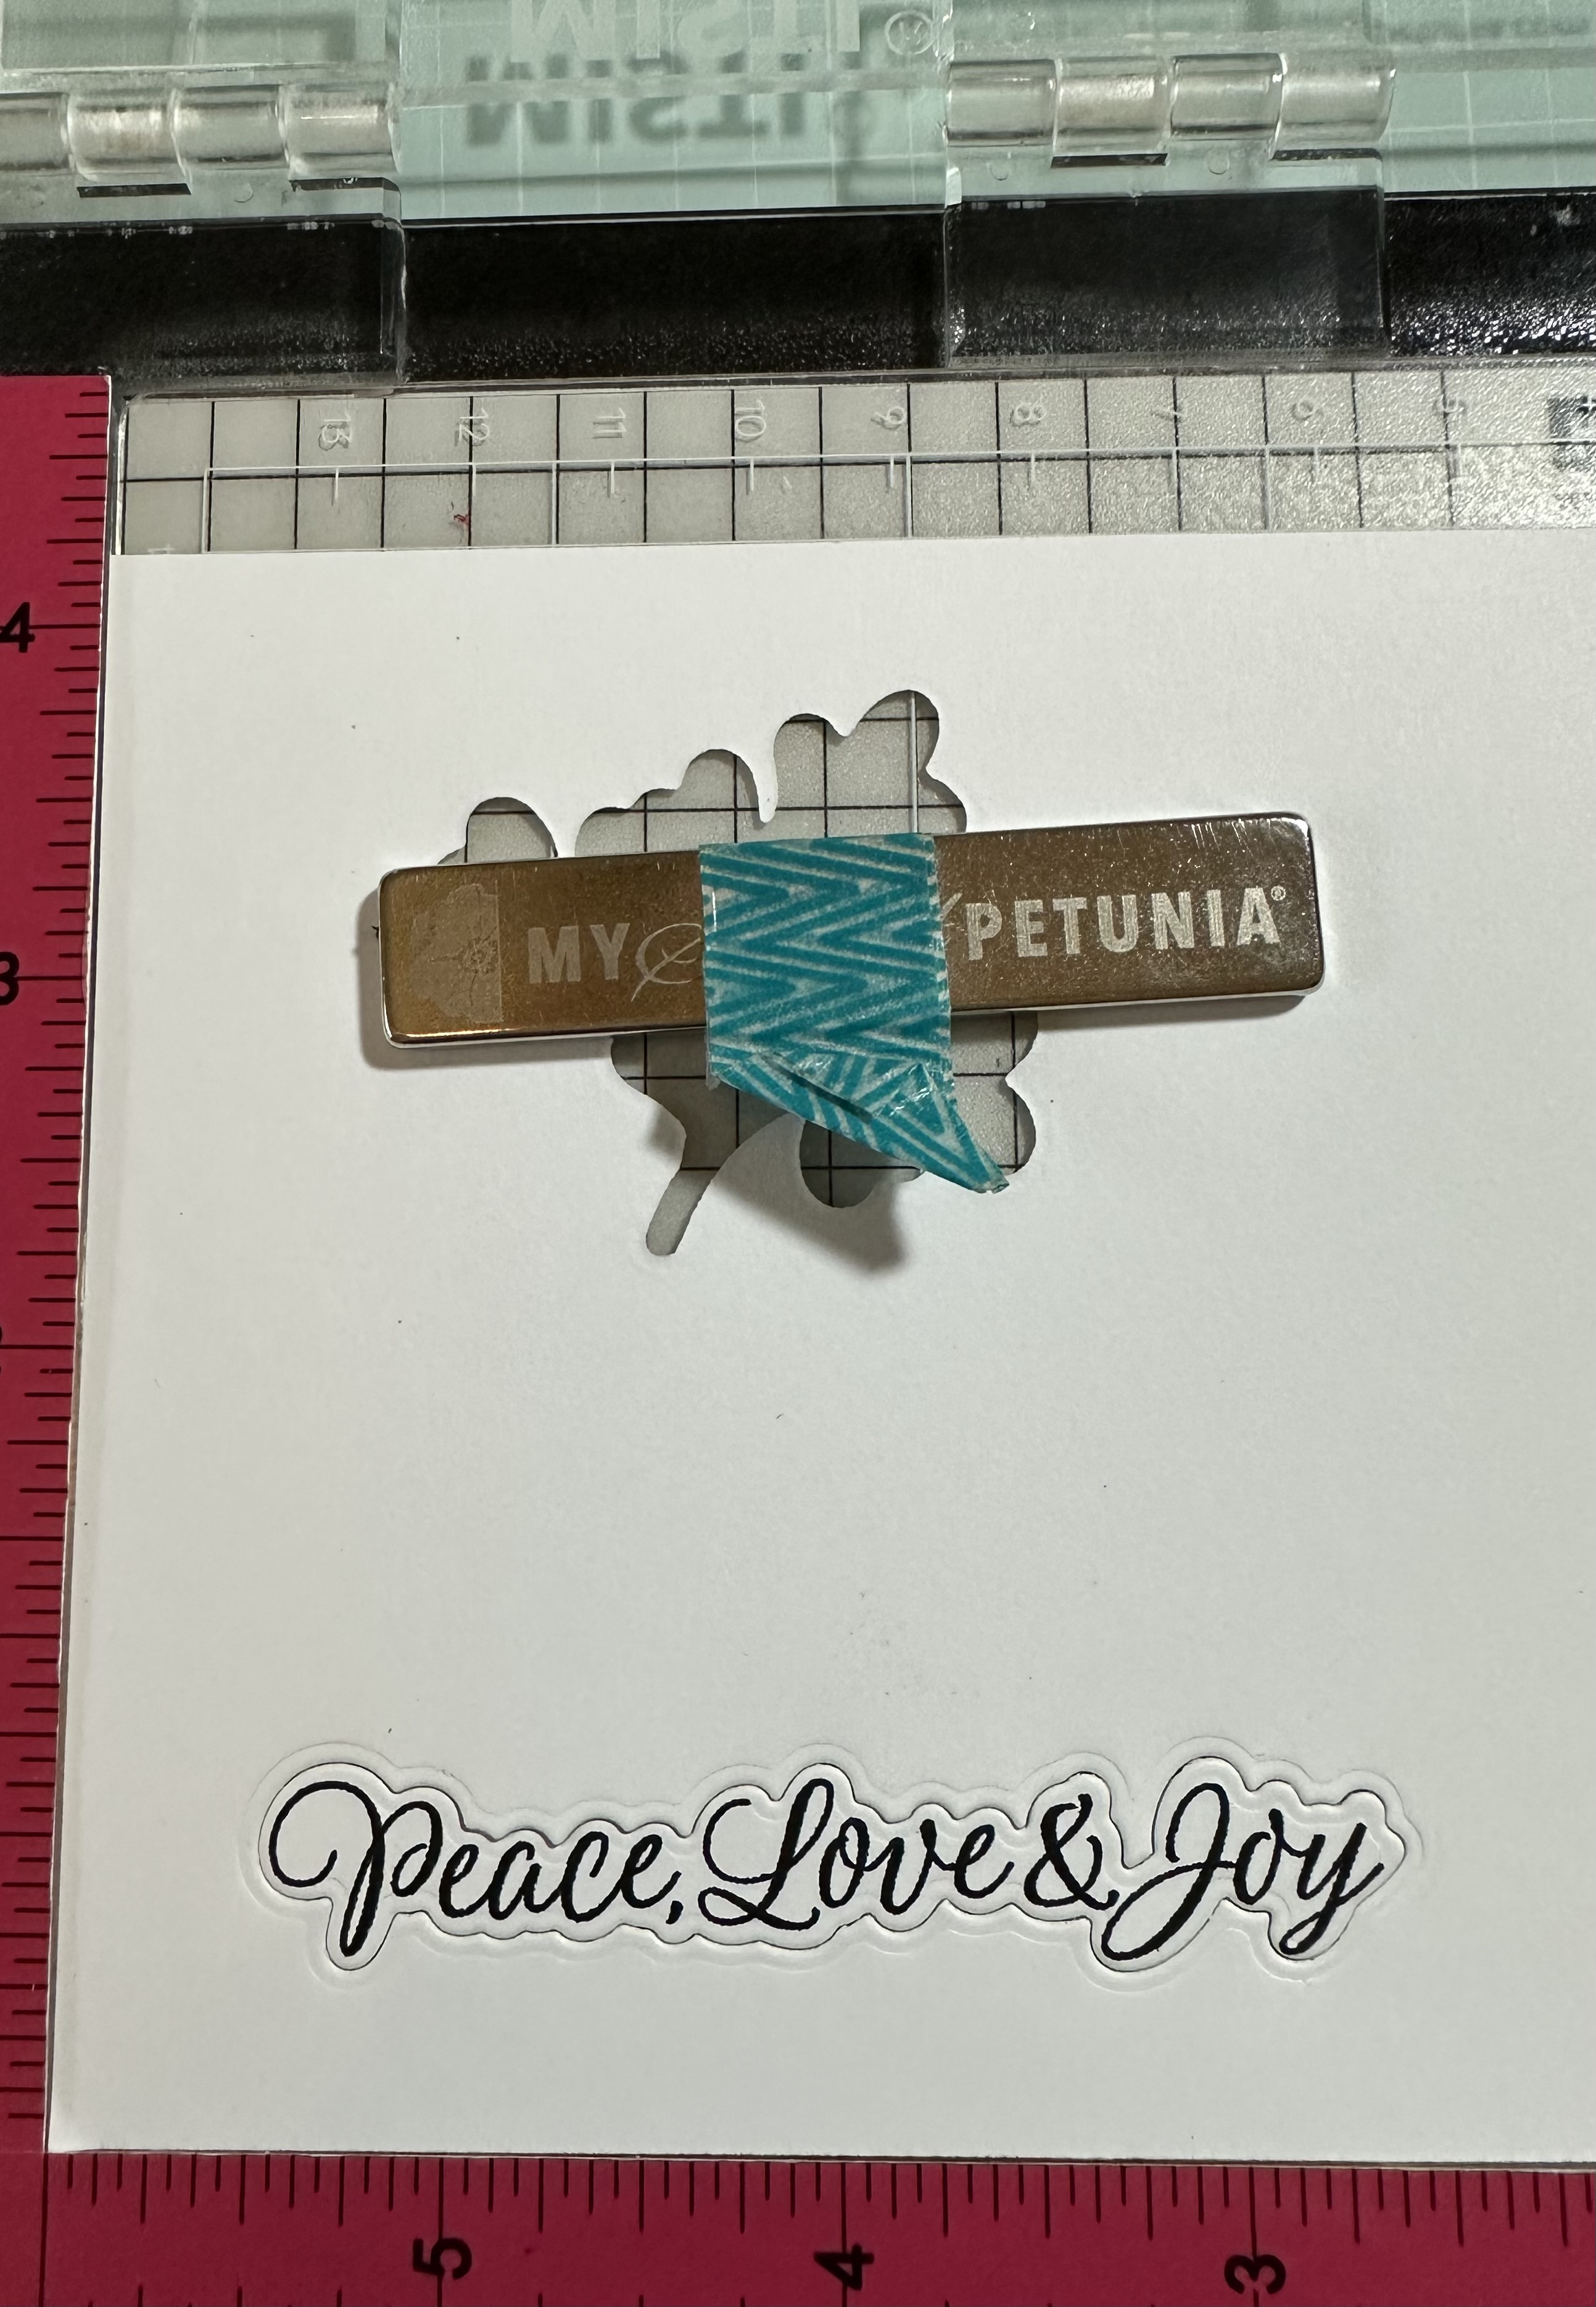
Lining up an intricate sentiment stamp with its coordinating die can be tricky but is easy to do with a Misti (or other stamp positioning tool.) I created several stamped and heat embossed versions of this sentiment to have ready to place on my holiday cards this year. 


To create my die cut sentiments I first used the die to create a template out of white cardstock. 
I placed the template in my Misti, lined the sentiment stamp up in the negative space, and picked the stamp up with the door of my Misti. Keeping the template tucked in the corner I then replaced the blank die cut back in the negative space and stamped my sentiment. 


For this card I used a gold heat embossed sentiment and I stacked it with 2 additional die cuts to add dimension before adhering it to my card. 

I hope you'll check out all of the newest holiday products available from Dare 2B Artzy!

Thanks for visiting and have a great day!

Avra