Showing posts with label Snow Much Fun. Show all posts

Sunday, January 2, 2022

Hooray!

 Hi Artzy friends -

Happy New Year!

We made it to another year! That alone is cause to celebrate!


The Dare 2B Artzy challenge this month is Winter Fun. Dare 2B Artzy has lots of great products for winter cards! This card features Yeti 4 Winter. This stamp set is a perfect example of images and sentiments that would be appropriate for holiday cards, as well as all season long!

                  Clear stamp set with three adorable yetis holding Christmas presents and lights.  Sentiments also include, "You are unbelievably awesome" and "Is it Christmas yet?". Coordinates with the die, "Yeti 4 Winter" from Dare 2B Artzy.

The other wintery products I used on this card are the Slim Mini Snowflake Background die, cut out of white glitter cardstock, paper from the Snow Much Fun collection, and various snowflake dies.


The stamped and diecut "celebrate" is from the A Single Greeting stamp and die sets. In this versatile sentiment set you can find greetings to use for almost any occasion!

                   Clear stamp with words for sending greeting cards.  words include, "hello", "birthday", and "congrats".  Coordinates with the die "A Single Greeting" from Dare 2B Artzy.

I hope you'll join the Winter Fun challenge on the blog this month for a chance to win a $15 gift certificate to the Dare 2B Artzy store!

Once again, I wish you all a happy, healthy, and Artzy new year!

Thanks for visiting and have a great day!

Avra


Thursday, December 23, 2021

Dare 2B Artzy 2021 Favorites

Hi Artzy friends -
As we near the end of 2021, I thought I would revisit some of my favorite projects from the past year using Dare 2B Artzy stamps, dies, and papers released during the year, and a variety of fun folds as well!
It's difficult to narrow down because there have been so many fantastic new products to create with this year!

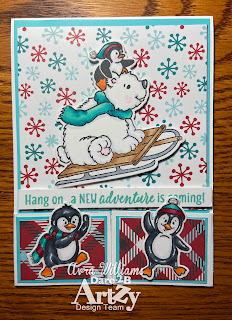
The first card I shared in 2021 was actually one of my favorites! The adorable bear and penguins from Just Chillin' are some of my favorite winter images! And I love the papers in the Snow Much Fun collection! 


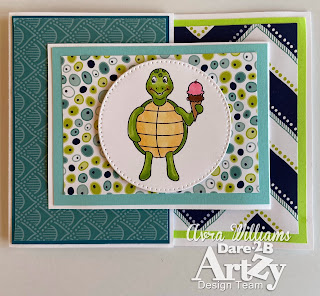
This Turtley Awesome card made the list because I think this turtle eating ice cream is just so fun! 


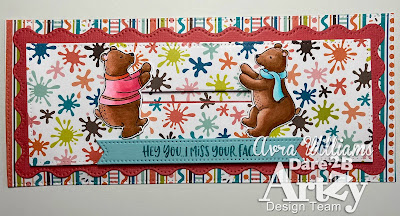
Early 2021 found many of us receiving our Covid vaccines and looking forward to seeing and hugging our friends again. This cute card features bears from Bear Hugs, and beautiful colorful papers from the Ice Cream Social collection. Slimline dies, such as these from the Wavy Slimline Framelits dies were very popular in 2021 as well!


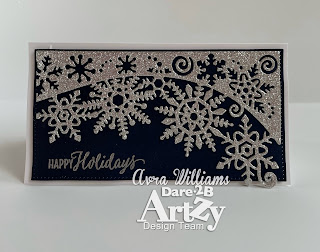
At Dare 2B Artzy, we love to get a jumpstart on Christmas cards in July, and this card was created to get us thinking about winter, 6 months ago! I just love the Slimline Snowflake dies cut out of silver glittery cardstock! Such a simple card but it makes a big impact!


The most recent Dare 2B Artzy release included so many beautiful images and papers that can be used for holiday cards and all year round. 
Two of my favorite cards made with products from the release include one made with the Pop Up Feature die, and a slimline card. Both feature papers from the Merry and Bright collection, which may just be my favorite Dare 2B Artzy papers to date (although I'm sure I say that every time new a new paper collection is released!)


I hope you enjoyed taking a look back at Dare 2B Artzy products and projects from the past year with me.
And I hope you are looking forward to getting Artzy with some fantastic new products to come in 2022! I know I am!

I would love it if you would use my affiliate link when you shop! 


Thanks for visiting and have a great day!

Avra


Thursday, December 10, 2020

Gift Giving Time!

 Hi Artzy friends-

It's that time of year! It's time to make and send cards, shop, bake, wrap, and present gifts from the heart to our loved ones. What better way to present so many types of gifts than with an adorable box/backpack that you create yourself and personalize with your own creativity?!


I have made four of these backpacks now, and my most recent one is definitely the best, so I will share some little tips that I have learned along the way. 

Cindy, the owner of Dare 2B Artzy, has done an amazing job printing step by step assembly instructions on the die packaging, as well as provided a video tutorial for you visual learners. She has also shared many examples of backpacks she has created. My observations are just my opinions, and things that worked well for me. When you get this die, I recommend you make your first one following along with the video or printed directions, and using paper that you don't "care about" until you find what works best for you.

Here is my favorite of the four that I've made.


I chose to create this one without the backpack straps, and it's still equally as cute and useful. 
In my opinion, the backpack version is adorable and unique, and is perfect when paired with an appropriately sized teddy bear or other stuffed toy to present to a child (or adult!). But, for my purposes, I prefer to make the box without the straps. It makes a "neater" more compact presentation, and for me, has less room for error during the "construction process." 

Here are two examples of boxes I made with the backpack straps. It really is a clever design!


Here are my "two-cents" in addition to all of the tips provided on the packaging and in the video:
1)  I like to cut my main panels - front, back and sides, as well as the top, from a nice weight solid cardstock. I then cover the front, back, and sides with panels cut out of my chosen patterned papers and the dies provided. It provides quite a bit more structure and stability to the finish product. I used papers from the Snow Much Fun collection for my two holiday examples, and the SEAS the Day collection for my more summer themed backpack.


2) My other big tip won't necessarily work best for everyone, but I am a liquid glue girl. I know many of you prefer scor-tape, or other double sided tape when creating 3D objects. I tried scor-tape on my first two attempts at making these boxes. Like scor-tape, the right liquid glue (I use Art Glitter Glue) gives me a strong hold, dries fairly quickly, and can be applied to a small area. But it is much more forgiving than double sided tape in that it provides a little "wiggle room", or time to get my pieces lined up perfectly before I press them firmly into place. Like I said, it's a personal preference, but it's what works for me.

3) The only other additional tip I have is if you're making the backpack straps, use a really good quality cardstock. I'm not sure what the difference was, but the navy blue straps I made turned out really nice. The lighter blue ones got creased in a few places. It was probably just me, not being careful enough, but a nice heavy smooth cardstock will be easier to work with.

There are lots of gifts you can tuck inside this roomy box/backpack. It's the perfect size for a set of A2 cards. I plan to do this for my mother-in-law, once I can actually travel to take it to her. It will also hold candy and treats of all kinds, which is what I will fill this one with to give to my husband this Christmas. 


I made a little tag with the Rectangle Fancy Framelit dies that can tuck into the adorable front pocket. The Happy Holidays sentiment is from the Toboggan Fun stamp set.


Now that I've made a box that I love, and know how to get good results, I can't wait to make more!
You can find the Backpack die, as well as all of the fantastic Dare 2B Artzy products here

Please join our challenge this month here, by uploading a Holiday Fun themed card for a chance to win a $15 gift certificate!


Thanks for visiting and have a great day!

Avra


Friday, December 4, 2020

Gift Card Holder

Hi Artzy friends -

It's holiday gift giving season! If you're like me, you always need a fun new way to present gift cards.
I give my (adult) children gift cards every year for Chanukah (as opposed to toys and gifts each night when they were younger.) This year Chanukah begins on December 10th so I needed to have a cute simple gift card holder in a hurry! 


This little "basket" will hold several gift cards, or even small treats (Ghiradelli squares anyone?)

I stamped the adorable snowman image from the Toboggan Fun stamp set on white cardstock and colored it with Copic markers.  I then die cut the image with one of the Rectangle Fancy Framelit dies. I stamped the Happy Hanukkah sentiment from the SHELLom Turtle stamp set. I believe this set is discontinued but it can still be found on the Dare 2B Artzy website in the clearance section! This is one of the very first Dare 2B Artzy stamp sets I ever purchased because it was so cute and unique!  I added some GinaK Crystalline Drops (like Stickles) for a little added shimmer on the snowmen's accessories and set it aside to dry.


I then created the 4 1/4" x 3 1/4" holder with a piece of 7" x 5 1/4" paper from the Snow Much Fun collection, as well as a handle from an 8" x 1/2" strip of coordinating cardstock. 

I assembled the basket, and adhered the completed image, as well as a pretty little gem.
Now I just need to make 2 more holders and purchase all of the gift cards for my gifts!


The Dare 2B Artzy design team members have all been busy creating 3D holiday projects to inspire you!
You can see them all in a hop taking place over on Instagram! You can win one of two $10 gift cards! Just look for the Dare 2B Artzy account and the graphic below for all the details! We are also having a sale! Take 15% off if your order with the code XMAS2020 now through  December 6th. You can shop here!


Thanks for visiting, and have a great day!

Avra


Thursday, November 5, 2020

Reindeer Games with Dare 2B Artzy and Tombow

 Hi Artzy friends -

Today I have the pleasure of sharing with you some cards I created with a fun Dare 2B Artzy set, along with Tombow Dual Brush Pen Art Markers.

Be sure to check out the Dare 2B Artzy blog all this week for more inspiration using Tombow products. 


Because I am new to using Tombow markers, I wanted to try out various techniques with them. So - I made 4 cards! This will be a picture heavy post!

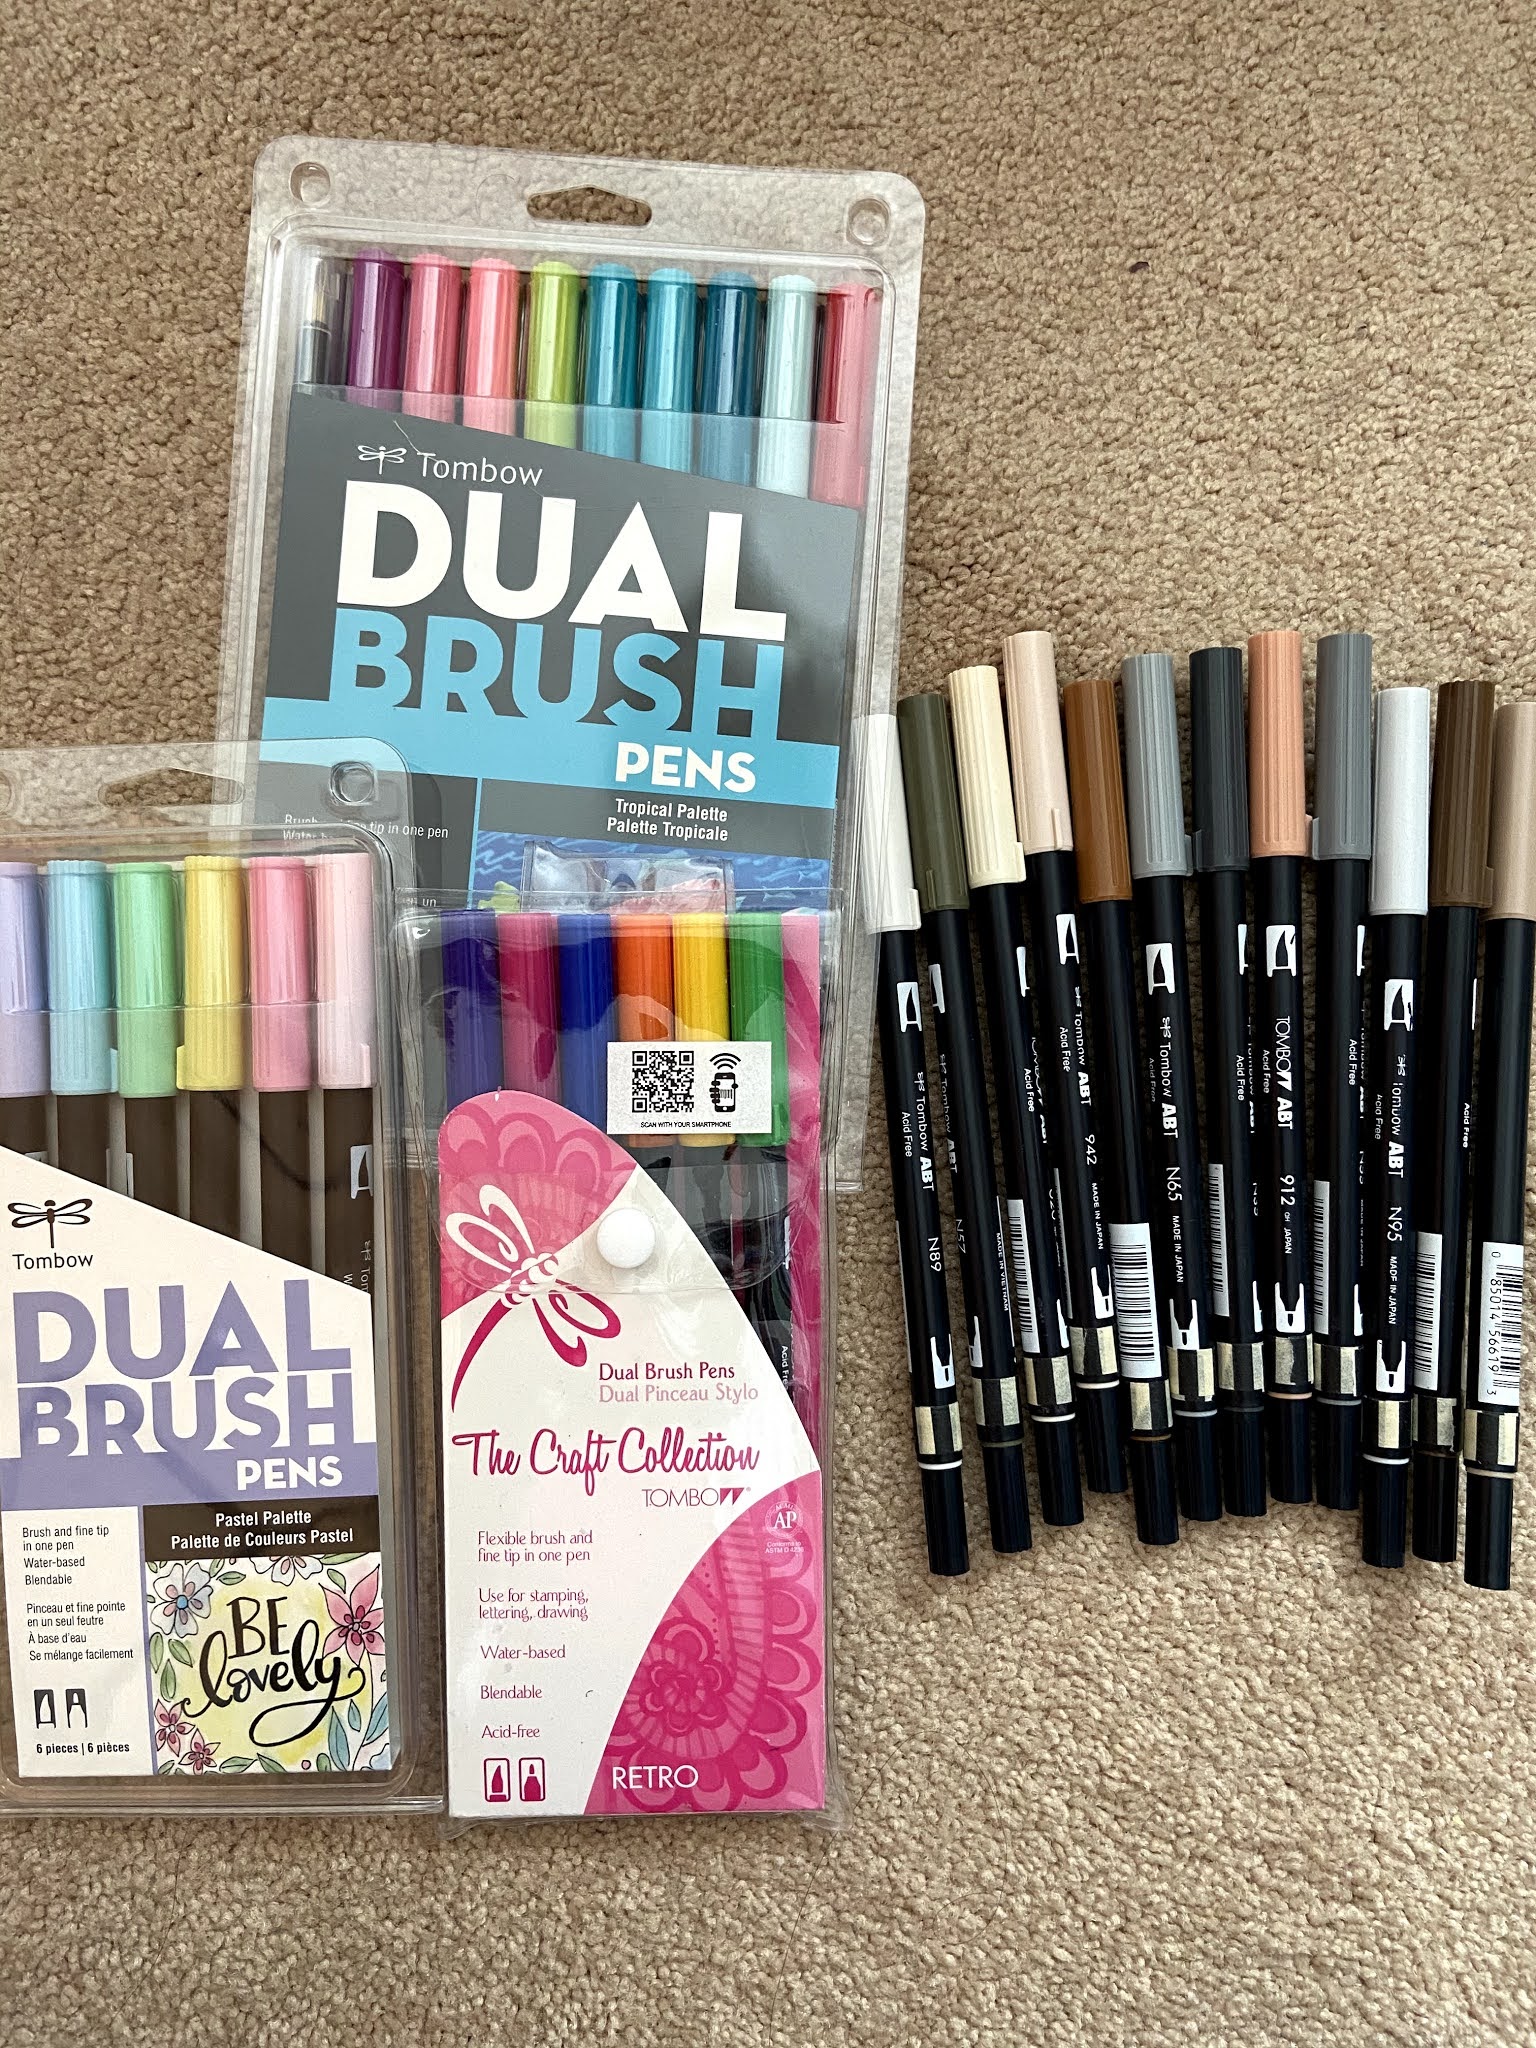
Here are the sets of markers I had to work with, along with some neutral colors that I borrowed from a friend. 

There are 108 colors of Dual Brush Pens in all, including a colorless blender.
Dual Brush Pens are a water based marker, with a brush tip and a fine point bullet tip.
They are great for coloring, doodling, journaling, hand lettering, and more. Learning hand lettering is on my "to-do" list sometime soon, and the brush tip is perfect for that!

Now on to my coloring! 
I wanted to choose an image with a lot of opportunity to color, so I chose the Reindeer Games stamp and die sets. This is a whimsical set with some cute sentiments to go with the images.
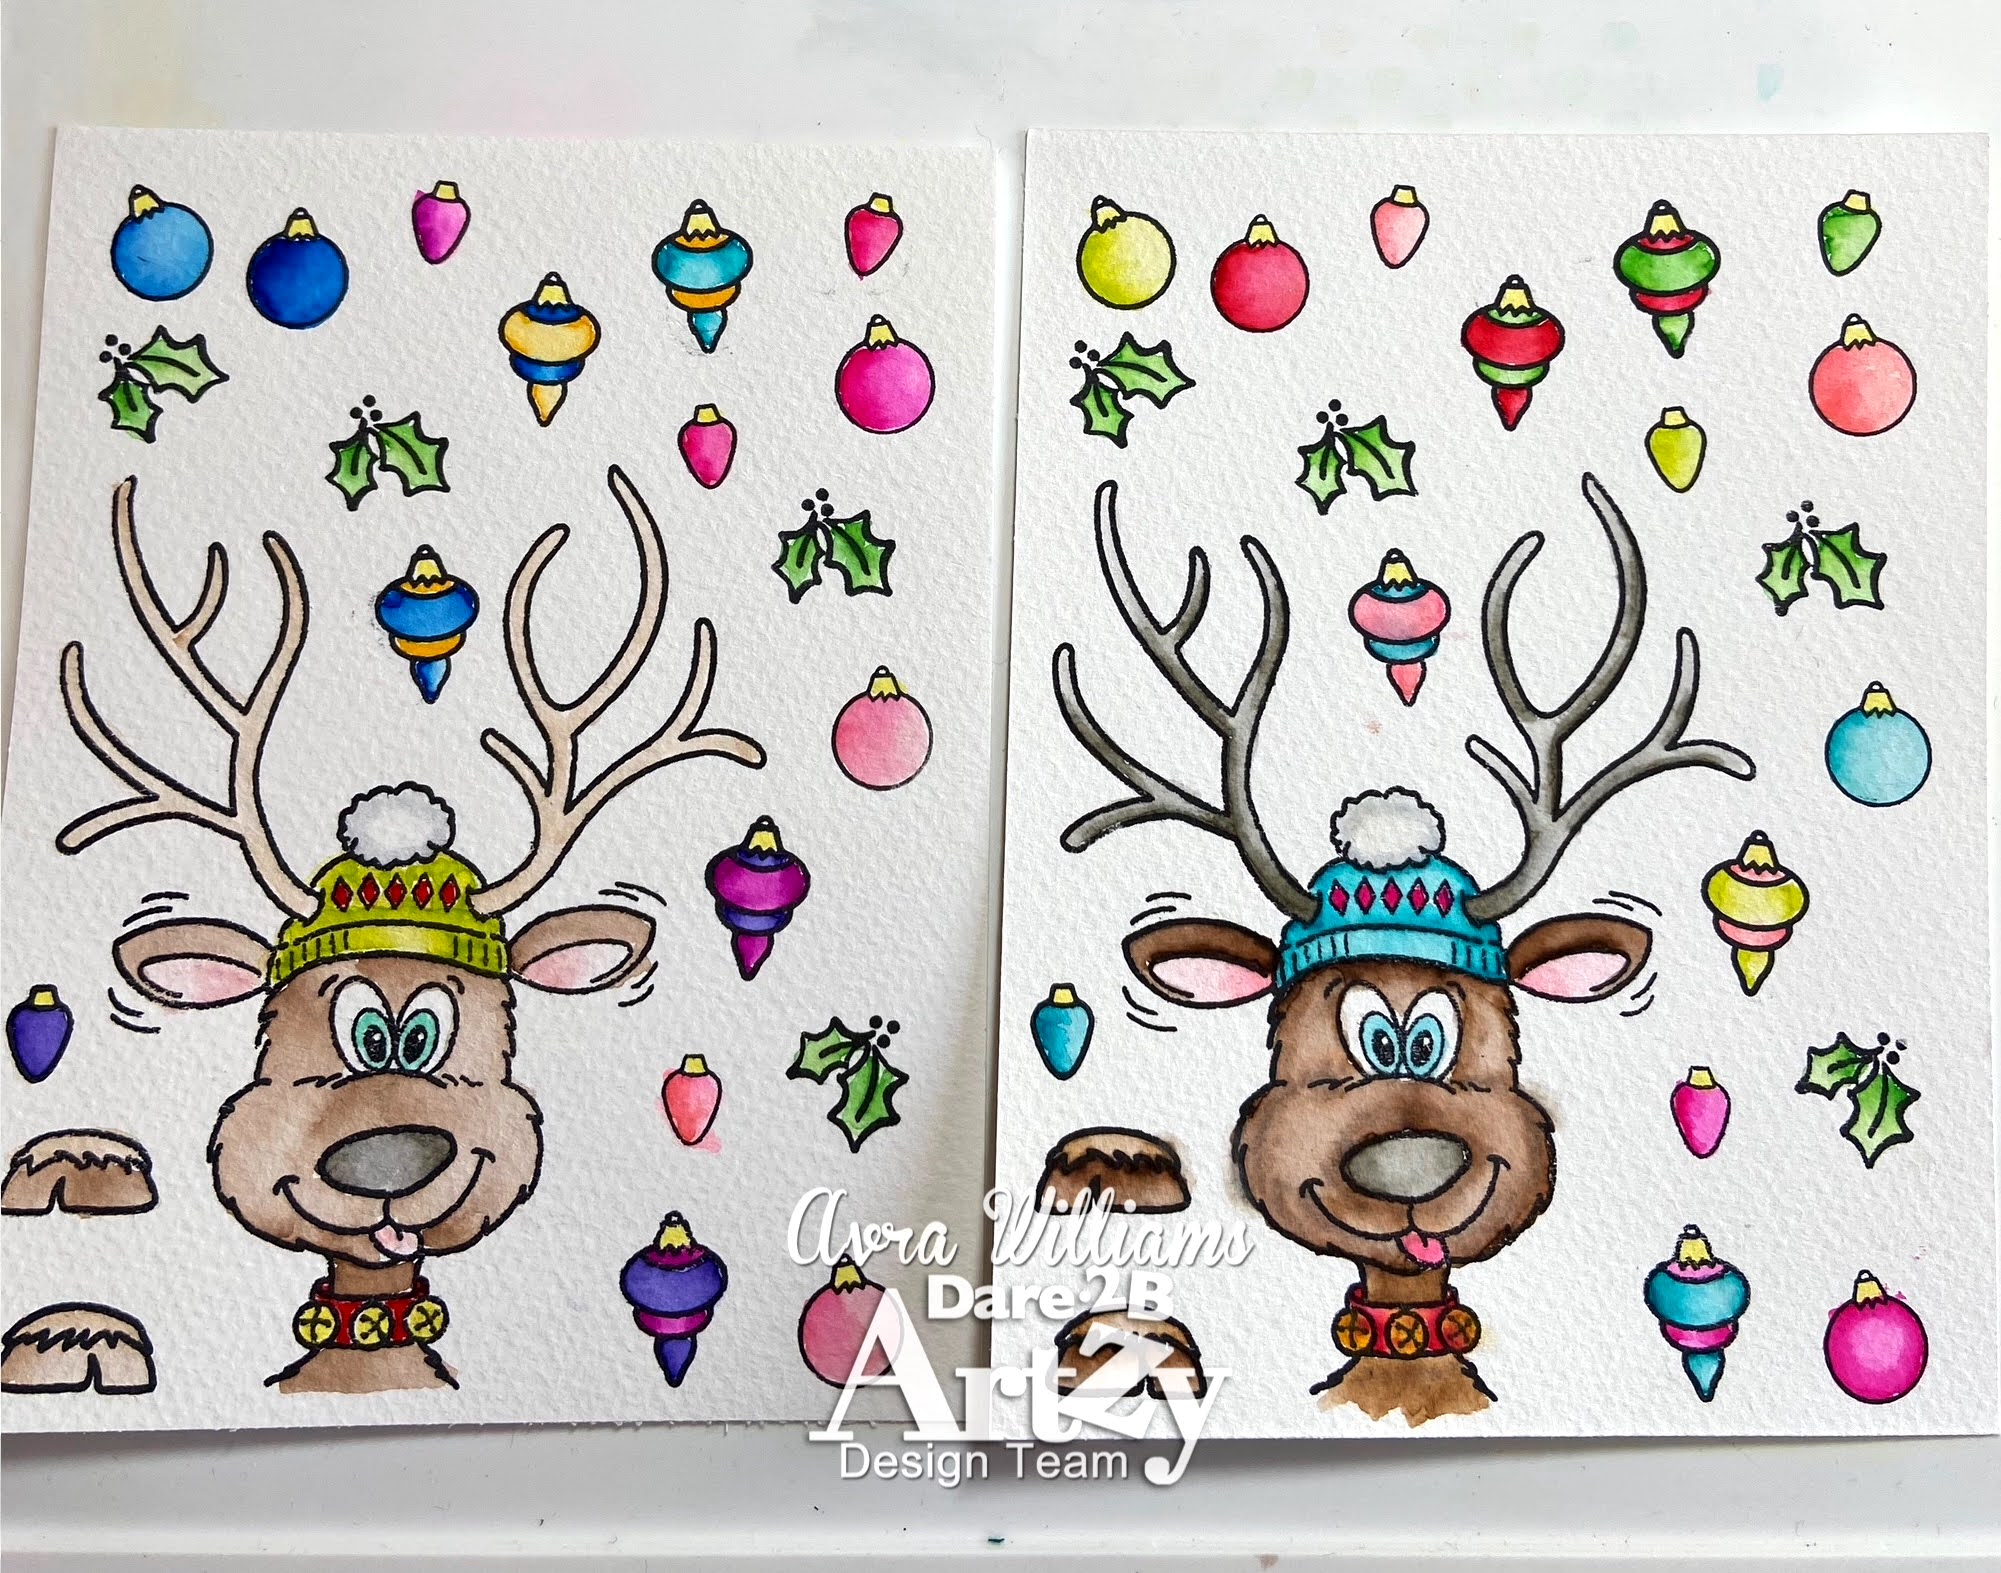
I stamped the main image, along with the ornaments, on both Bristol Smooth cardstock, and water color paper, using Versafine Clair ink in Nocturne, which is a quick drying, waterproof pigment ink. If you are in a hurry, you could dry it using a heat tool.

Here are the 4 panels of images I colored. I tried: coloring directly on the paper, then blending it out with a waterbrush, coloring directly on the paper, then blending it out with the colorless blender, and scribbling the marker onto a palette and picking it up with a waterbrush. As I mentioned earlier, I tried the techniques on 2 different types of paper. Coloring directly on the Bristol Smooth is preferred to coloring directly onto watercolor paper. Watercolor paper is better if you are adding more water, such as wetting the paper before applying the color.  The first 2 panels are Bristol Smooth; the second 2 are Canson Watercolor paper.


After die cutting all of my images, I added Glossy Accents to my ornaments. I love that the Glossy Accents did not alter the colors of the images. As I did not end up using many of them on these cards, they are ready for me to accent future holiday cards with. So shiny, dimensional, and fun!


Next I created some watercolored backgrounds for some of my cards.
I chose some pretty blues and greens and scribbled them on my craft mat. I then lightly misted the mat with water, and dipped my watercolor cardstock into the color. I continued to add color, add water, and dip and drag my panel through the colors until I was satisfied with the result, drying them with my heat tool in between layers. 


I ended up using 2 of the above backgrounds for 2 slimline cards, and I also created an A2 easel card and a square shaker card.

I cut down one of the backgrounds using the largest die in the Wavy Slimline Framelits die set, and adhered it to a 9" x 4" horizontal card base. I popped up my reindeer and his feet with foam tape. I added my heat embossed sentiment strip, also cut with a banner die in the Wavy Slimline Framelits set. I embellished the card with snowflakes from the Slimline Snowflake dies, an ornament from Reindeer Games, and some additional gems. 


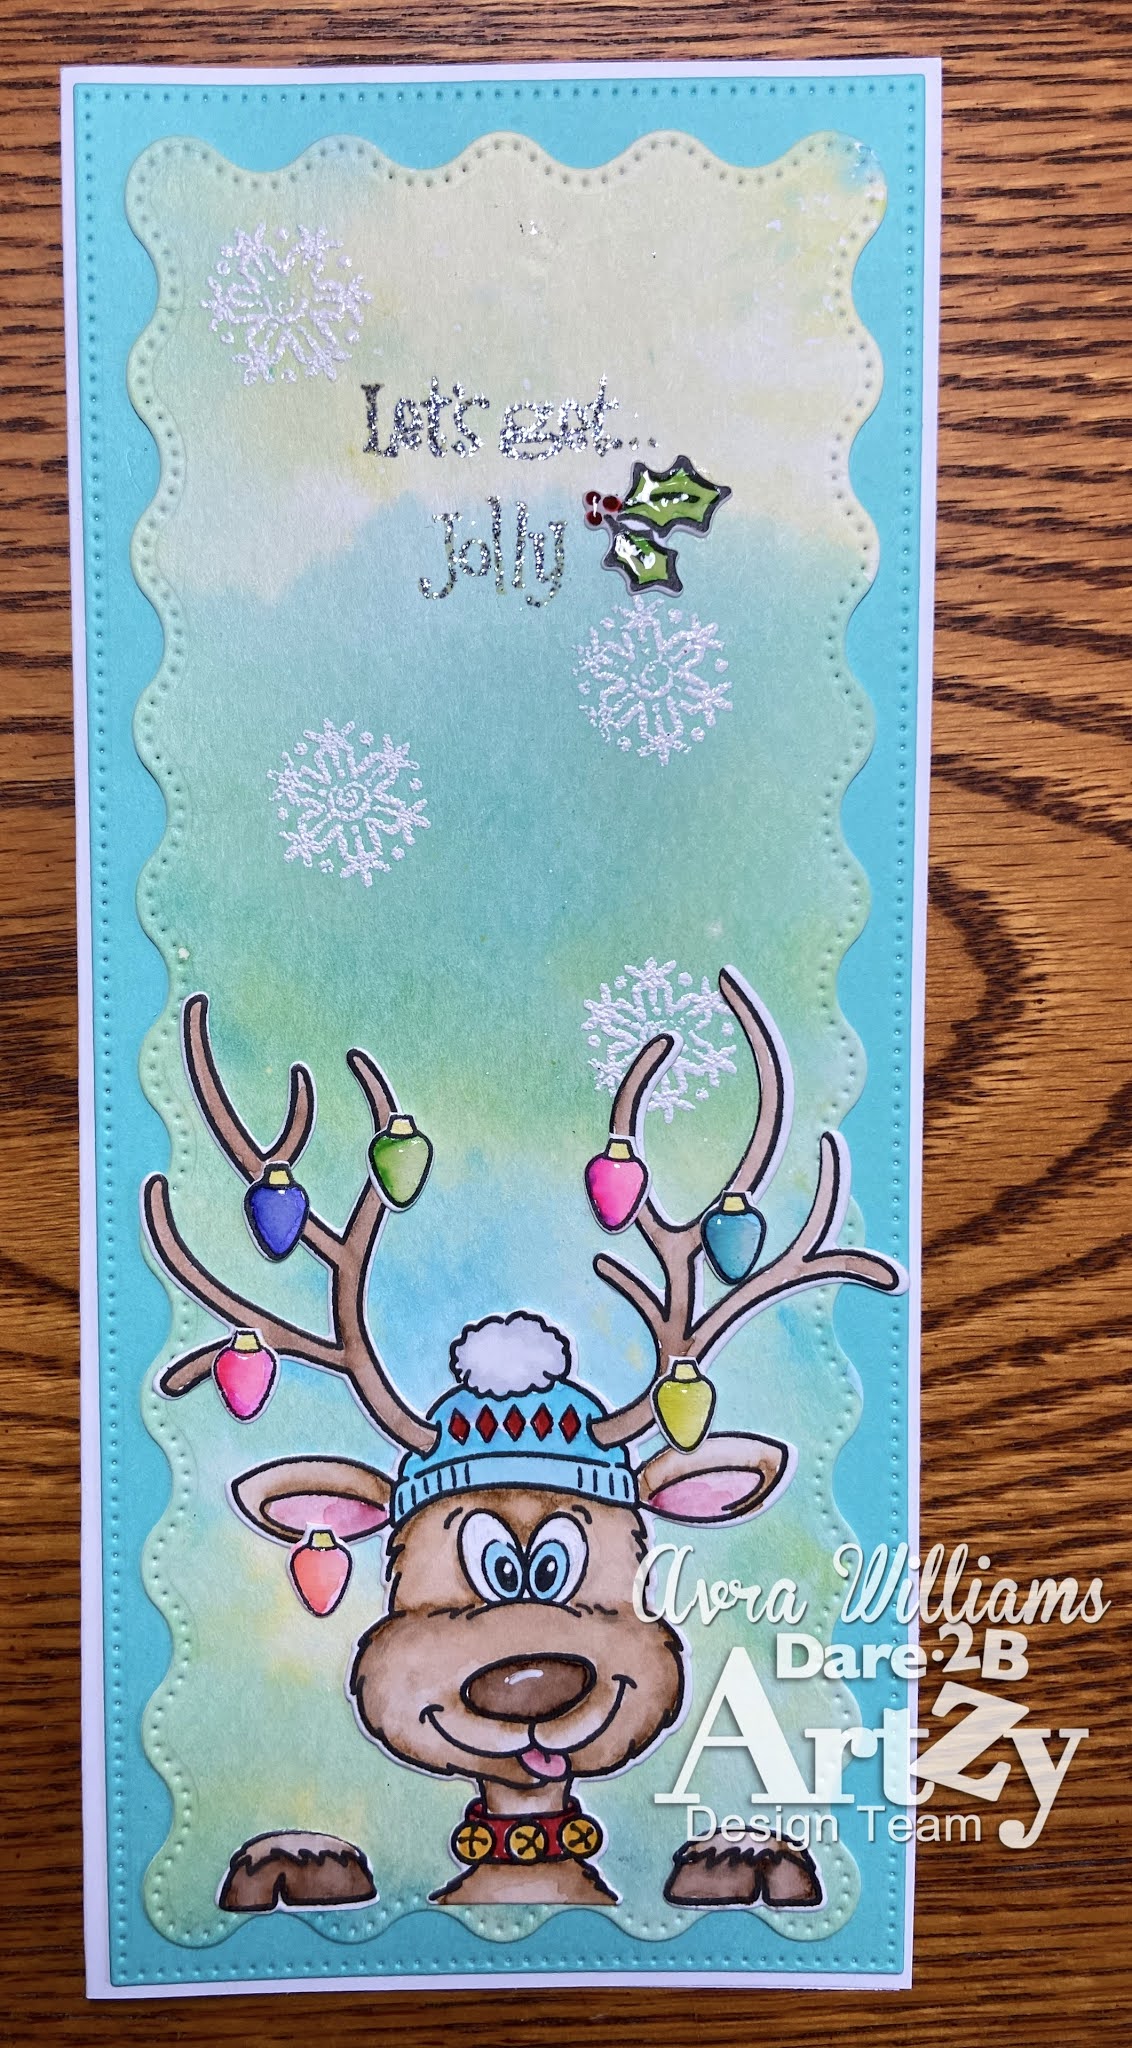
For my 2nd slimline card, I cut a watercolored panel with a die from the Wavy Slimline Framelit dies, and also cut a piece of aqua colored cardstock from the largest die in the set. I heat embossed my sentiment, and a few snowflakes onto the water colored panel, both from Reindeer Games. I layered the two panels onto my 8 1/2" x 3 1/2" vertical card base. I adhered my reindeer, his feet, some light bulbs and holly with liquid glue. 


My next card is an easel card. On the front panel I cut a piece of white fun foam with the reindeer die to pop the image up on. Fun foam is an easy way to give a sturdier base to a detailed image than cutting little bits of foam tape. For the inside of the card I cut a label out twice with one of the Rectangle Fancy Framelit dies - once in white, and once in green. I cut off just the bottom third of my green shape and popped it up with two layers of foam tape onto the white piece to create a "lip" for my easel. I heat embossed my sentiment in gold, and added the reindeer's feet and a sprig of holly to finish off the card. The white label is where I will write my message and sign my card. 


Finally I created a 4 1/2" x 4 1/2" shaker card.
I glued my reindeer image down to a piece of pretty wintery paper from the Snow Much Fun collection, and adhered that to my card base. I then created a frame with a  Square Framelit die, and added a piece of acetate behind my frame. I popped that up onto my card front, leaving a small opening to add my sequins.  I then added foam tape to my opening making sure to close up all the gaps so my sequins couldn't escape. I added a sentiment from the Toboggan Fun stamp set, heat embossed in silver on vellum, and glued on a sparkly snowflake and the reindeer feet. 


I really enjoyed creating this assortment of holiday cards with Tombow markers, and the Reindeer Games stamps and dies, and other products from Dare 2B Artzy

We have a sale going on now at Dare 2B Artzy!
Use the code FALL10 to save 10% off all orders, now through November 8th!

Also - join our November challenge with a "Thankful" themed project, for a chance to win a $15 gift certificate!

Thank you for visiting, and have a great day!

Avra